
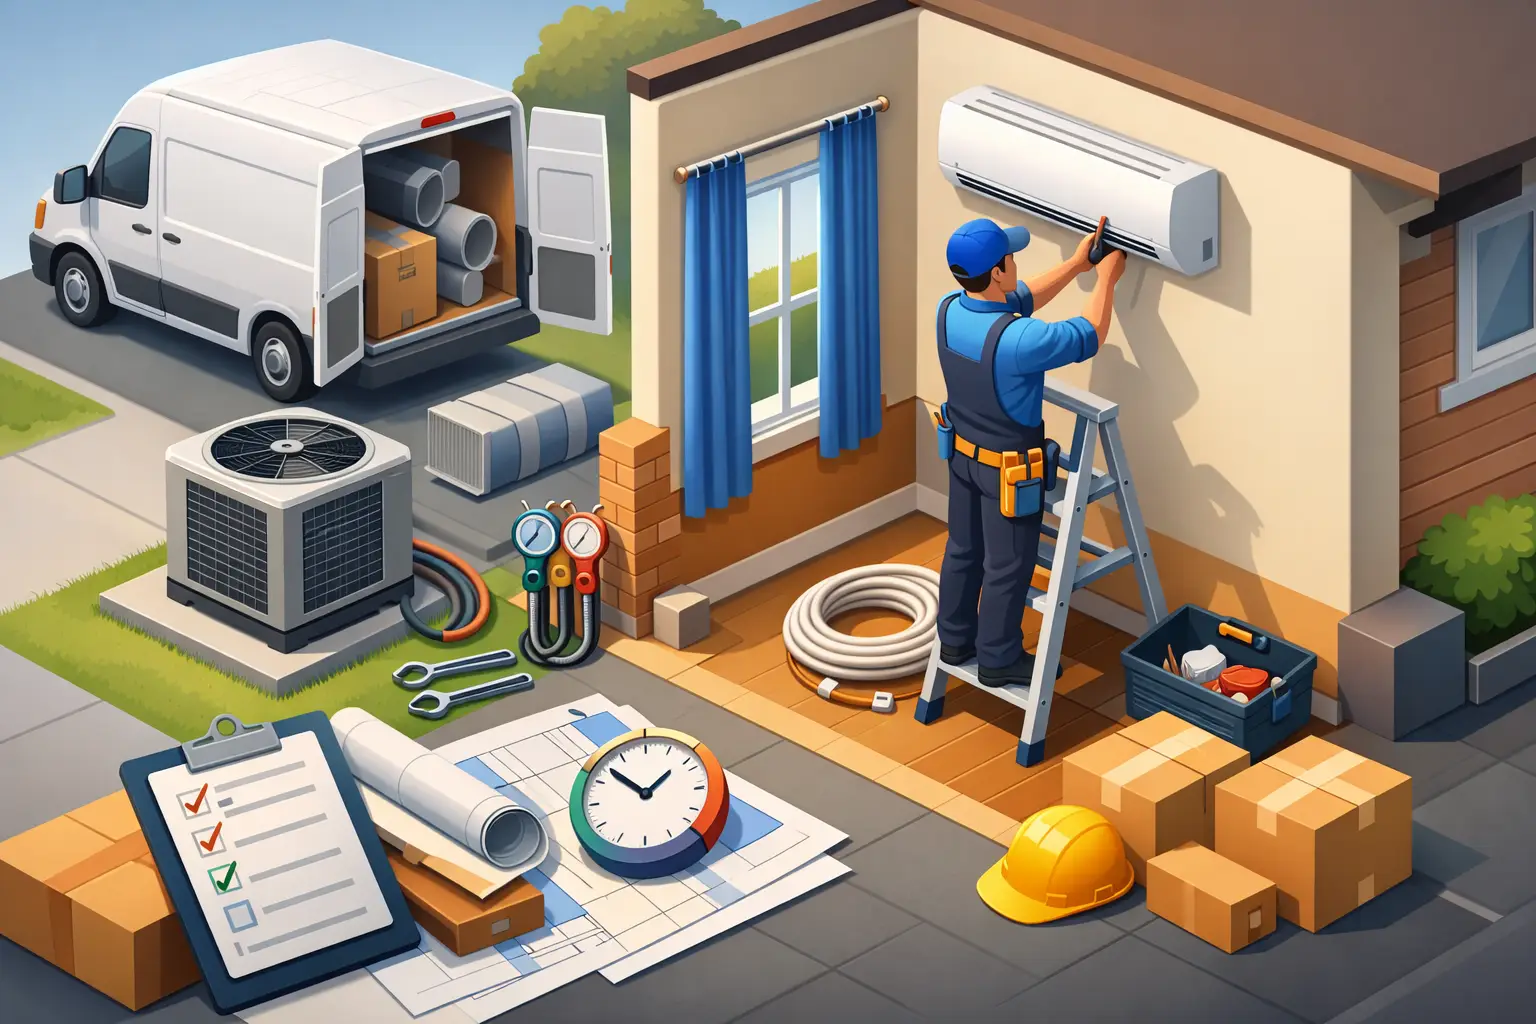
A new air conditioner is not a project you want stalled halfway through a Florida afternoon. Knowing how to prepare for AC install helps the crew work safely, keeps your home accessible, and reduces the chance that a small issue – like a blocked attic entrance or an outdated electrical panel – turns into an all-day delay.
Most of the work belongs to your HVAC contractor. Your part is simpler: make the work areas available, ask the right questions before installation day, and plan for a few hours without cooling. A good contractor should explain the scope, provide a clear estimate, and tell you what they need from you before anyone arrives.
Confirm the Scope Before Installation Day
An AC replacement is more than swapping one outdoor unit for another. Depending on the condition and design of your home, the job may include an air handler, condenser, thermostat, refrigerant line work, a new drain setup, duct modifications, electrical disconnect work, or a change to the equipment pad.
Review your estimate and make sure you understand what is included. Ask whether the quoted system includes removal and disposal of the old equipment, permit fees, thermostat installation, drain line improvements, and any electrical work required for the new system. If something is not included, it should be discussed before the crew is in your driveway.
This is also the right time to ask about the expected schedule. A straightforward replacement can often be completed in one day, but access problems, code updates, duct repairs, or electrical upgrades may extend the work. That is not necessarily a red flag. It is better to address a legitimate safety or code issue correctly than rush through it and leave you with trouble later.
If your contractor finds that the electrical panel, breaker, disconnect, or wiring needs attention, use a company that can handle both HVAC and electrical work in-house. No referrals, no waiting for a second contractor, and no runaround about who is responsible for the final connection.
How to Prepare for AC Install Inside Your Home
Your indoor air handler may be in a garage, closet, attic, utility room, or mechanical room. The installers need a clear, safe path from the entry door to that equipment, plus enough room to remove the old unit and install the new one.
Move boxes, storage bins, furniture, laundry supplies, and personal items away from the work area. Aim for at least a few feet of open space around the air handler, thermostat, and attic access. If your system is in a closet, remove anything stored on the floor or shelves that could interfere with the crew.
For attic systems, check the attic opening before installation day. The opening needs to be accessible, and the path to it should be clear. If the attic is heavily packed with insulation, has weak walking areas, or contains stored belongings near the unit, tell your contractor ahead of time. Attic work is common in Central Florida, but it requires room to work safely in a hot, confined space.
Take down valuable wall art, fragile items, or loose decorations near the route installers will use. Professional crews protect floors and work carefully, but HVAC equipment is large and the old unit has to come out. A clear route protects your belongings and saves time.
If you have pets, plan to keep them in a separate room, crate, or secure outdoor area. Doors may be opened frequently, equipment will move in and out, and the work can be loud. This protects your pets and prevents an accidental escape.
Clear the Outdoor Unit Area
The outdoor condenser needs accessible space on all sides. Before the crew arrives, remove patio furniture, toys, planters, garden hoses, grills, and yard decorations near the existing unit. Trim back shrubs or branches that block access.
Do not try to disconnect or move the old condenser yourself. Even when it is no longer cooling properly, it involves electrical connections and refrigerant. Leave that work to licensed professionals.
Think about the path from the driveway or gate to the unit as well. Crews may need to use a hand truck, carry equipment, or bring in a new concrete pad. Unlock gates, move vehicles if they block access, and let the team know about tight side yards, stairs, uneven ground, or any other condition that could affect delivery.
If you live in a community with parking restrictions or a gate code, handle those details in advance. For a condo, townhome, rental property, or HOA-managed neighborhood, confirm whether there are approved work hours, elevator reservations, insurance requirements, or rules for outdoor equipment placement. Your contractor can guide you on permit requirements, but homeowner or property-manager approvals are usually your responsibility.
Check Power and Electrical Readiness
Your replacement system needs the right electrical capacity and a properly sized breaker. Older homes may have panels that are full, outdated, or not designed for the electrical demands of newer equipment. That does not mean every AC replacement requires a panel upgrade. It does mean the electrical side should be inspected rather than assumed.
Make sure the electrical panel is easy to reach. Move stored items away from it and tell the installer if it is in a locked room, garage, closet, or behind furniture. The team may need to shut off power during part of the installation, so plan for lights, outlets, internet equipment, and appliances to be temporarily unavailable.
If you have experienced tripped breakers, flickering lights, a hot electrical panel, or a breaker that will not stay on, mention it before installation day. Those are not issues to wait on. The new AC system should not be connected to questionable wiring or an overloaded circuit.
This is especially relevant if you are also planning an EV charger, pool equipment, a remodel, or other major electrical additions. Addressing panel capacity as part of a larger plan can be more practical than making separate changes later.
Prepare for a Day Without Cooling
During replacement, your old system will be off and the new one will not run until the installation, testing, and final checks are complete. In Florida, that can make the house uncomfortable quickly.
Set the thermostat lower the night before if your existing system is still working. Close blinds and curtains in sunny rooms, avoid using the oven, and keep exterior doors closed as much as possible. Portable fans can make the wait more manageable. If you have infants, older adults, anyone with medical concerns, or pets sensitive to heat, consider arranging for them to spend the warmest part of the day elsewhere.
You should also plan to be available by phone, even if you cannot stay home the entire time. Installers may need a quick answer about thermostat placement, access to a room, a discovered issue, or an approved change to the scope of work. Fast communication keeps a small question from becoming a delay.
Handle Payments, Permits, and Questions Early
Large home projects are easier when the administrative details are settled before the work begins. Confirm your payment schedule, financing approval if applicable, and accepted payment methods. A clear estimate should separate the equipment, labor, permit-related costs, and any optional work so you are not guessing about the final bill.
Permits are often required for AC replacement and related electrical work. Your contractor should explain who pulls the permit, whether an inspection may be needed, and whether you need to be present for any follow-up appointment. Permit requirements vary by city and county, so do not rely on a neighbor’s past project as your guide.
Before the crew arrives, write down any questions you still have. Good ones include where the new thermostat will be installed, how the condensate drain will be routed, what maintenance the system needs, and how warranty registration works. Ask what to expect when the equipment is started for the first time. You should not be left with a new system and no explanation of how to use it.
Make the Final Walk-Through Count
Once the system is running, take a few minutes for a final walk-through. Confirm that air is coming from the supply vents, the thermostat responds correctly, and the outdoor unit operates normally. Ask the technician to point out the filter location, drain line, electrical disconnect, and any shutoffs you may need to know about.
Keep the installation paperwork, warranty information, permit records, and model numbers in one place. Then schedule regular maintenance. A new system is a major investment, and Florida’s long cooling season does not give neglected equipment much of a break.
The best preparation is simple: clear the space, make decisions early, and work with professionals who can address both the cooling system and the power behind it. That gives your installation crew room to do the job right – and gives you a much better chance of ending the day with cool air, clear answers, and no loose ends.